Shop UK Site
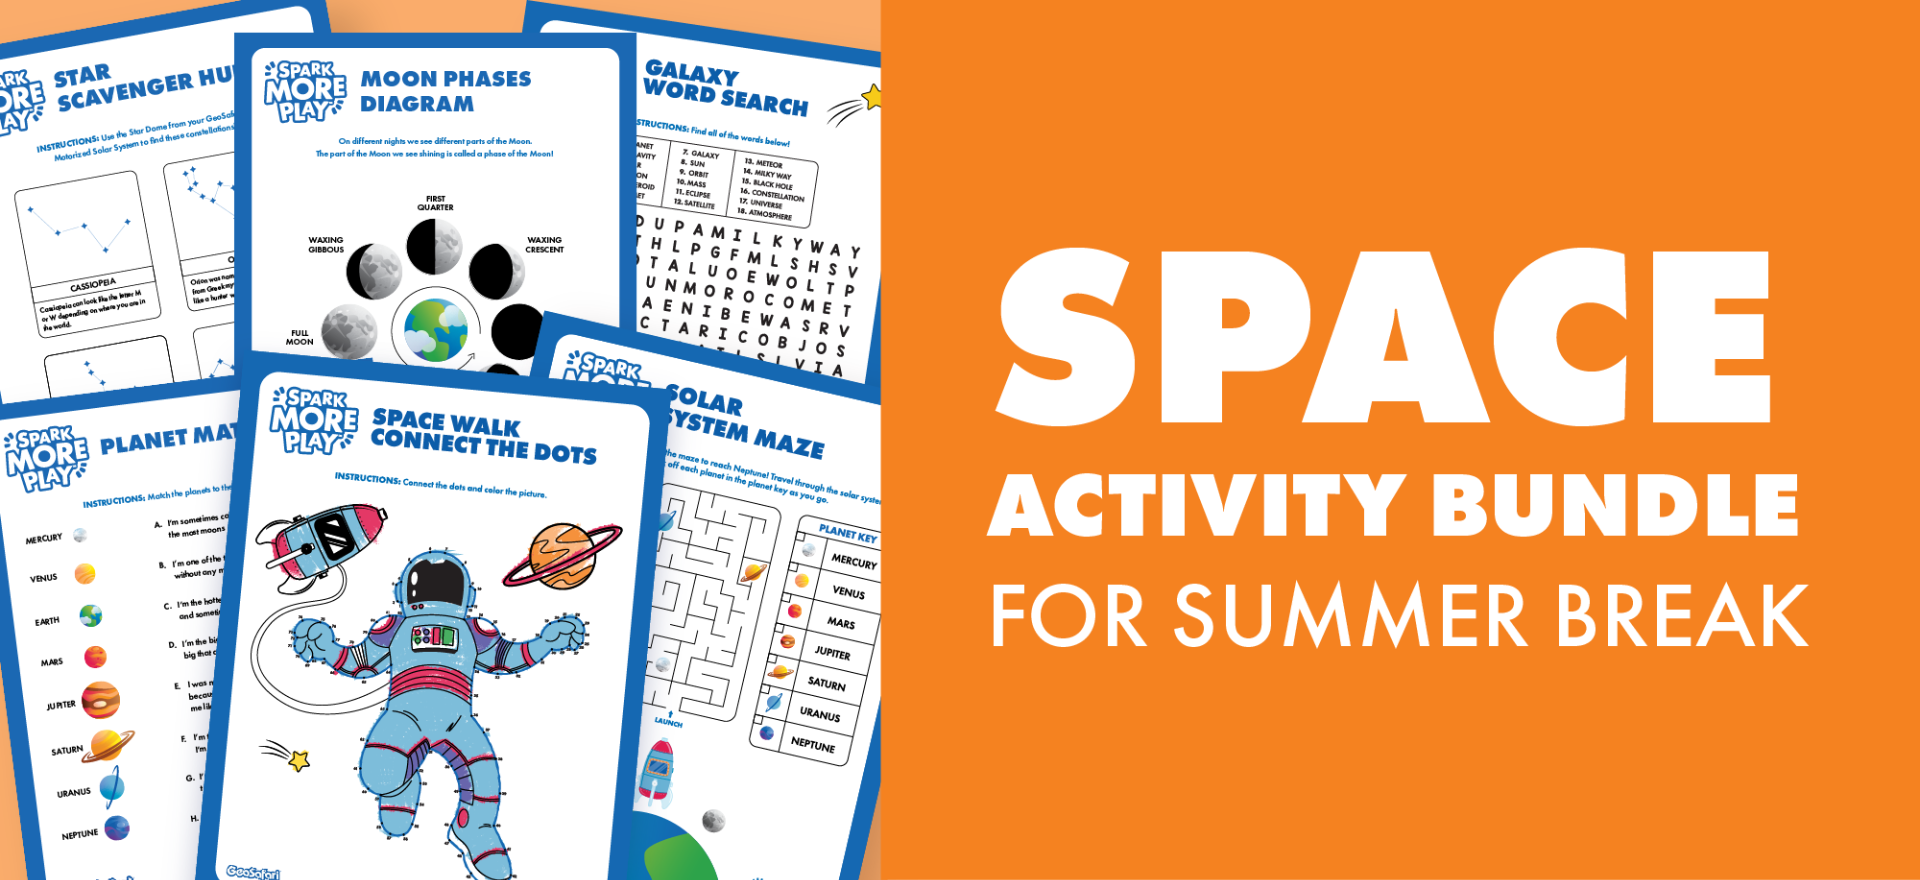
Rain, Rain, Go Away! Make the most of a drizzly day with big-time summer crafting fun!
Stuck inside on a summer day? Turn rainy day frowns upside down with these super-cool crafts guaranteed to make your kiddos smile! Petal PowerThese precious Popsicle stick creations make an adorable addition to your garden or potted plants!What You’ll Need:
 Rainbow RocksAdd some summer color to your yard with these rockin’ home-made rainbows!What You’ll Need:
 Squishy, Squashy Summer FlowersSqueeze in some sculpting fun with Playfoam®!What You’ll Need:
 Drip-Drop Painting Pour on the fun with this messy but marvelous painting technique!What You’ll Need:
 Let It Rain!Shake things up with a home-made rain stick!What You’ll Need:
 Petal PowerThese precious Popsicle stick creations make an adorable addition to your garden or potted plants!What You’ll Need:
- 10 Craft sticks or Popsicle sticks
- Acrylic paints and brushes
- Craft glue or glue gun (Parents, you’ll need to handle the glue gun, if you use one!)
- Paint all but two Popsicle sticks any color you’d like – make them all the same color or go for a variety.
- Paint the remaining two sticks green.
- Stack your sticks as shown above, gluing each one to the one below.
- Add a drop of glue to the tips of the green sticks and slide them into the center to create a 3-D floral sculpture!
 Rainbow RocksAdd some summer color to your yard with these rockin’ home-made rainbows!What You’ll Need:
- Several small to medium sized rocks in a variety of shapes
- Wax crayons
- Baking sheet
- Tin foil
- Oven (With parental supervision, of course!)
- Collect your stones, wash them, and dry them.
- Place the stones on a foiled-covered baking sheet and bake at 350 degrees until warm.
- Remove one or two rocks at a time and place on the table (you might want to put a towel down to protect your table from scratches and heat).
- Use your crayons to color a rainbow design – red, orange, yellow, green, blue, purple – or colorful abstract on the rocks. The wax will melt on the rocks and leave a bright, shiny shell on top. NOTE – the rocks will be HOT, so kids shouldn’t touch or hold them. Longer crayons will keep little fingers further from the heat.
 Squishy, Squashy Summer FlowersSqueeze in some sculpting fun with Playfoam®!What You’ll Need:
- Several colors of Playfoam®, including green.
- Creativity!
- Choose your petal color.
- Squish the Playfoam up until it resembles a petal. Repeat until you have 5 petals.
- Roll the green Playfoam into a tubular shape.
- Attach all pieces, pressing down to make them stick.
- When you’re done, separate the pieces, squish them up, and play all over again – Playfoam never dries out so you can create again and again!
 Drip-Drop Painting Pour on the fun with this messy but marvelous painting technique!What You’ll Need:
- Flower pot(s) – Terra Cotta works best, but plastic is fine, too!
- Several colors of acrylic paint in squeezable tubes
- Tape (any kind will do)
- Tarp, sheet, or towel
- And yes, parental supervision!
- Turn your pot upside down and place it on the protective tarp or sheet. Weather permitting; you may want to do this project outside.
- Cover the hole in the bottom of the pot with tape.
- Choose your first color and pour it onto the top of your pot. Be generous.
- Choose another color and pour that on top of the first one.
- Continue pouring – the more paint you add, the more it will flow down the sides of the pot. You can be deliberate in your colors and striping or go Jackson Pollack and watch what happens!
 Let It Rain!Shake things up with a home-made rain stick!What You’ll Need:
- A sturdy, cardboard tube (the tubes inside your plastic wrap or foil are great)
- Aluminum foil
- Tape
- Glue
- Short nails and/or tacks
- Rice, beans, or buttons – you’ll need lots!
- Parental supervision!
- Press your nails or tacks into your tube, making sure they don’t poke through the other side (ouch!).
- Wrap your tube in tin foil, covering one end completely (you may want to tape it).
- Pour your rice, beans, or buttons in the other end. The more you use, the better the sound.
- Seal the open end with tin foil and tape.
- Decorate as you wish – with stickers, decorative tape, tissue paper and glue, paint, feathers, what have you…
Related Posts You Might Enjoy

Posted on Jan 27, 2023
DIY Valentine’s Day Mailbox
Document


READ MORE
DIY Valentine’s Day Mailbox
Cardboard Box
Glue and Tape
Scissors
Construction Paper
Markers and Color Pencil
Other materials(optional)
Instructions
- Cut a hole in the top of your box using a utility knife or scissors, big enough to fit your average candy grams (help your kids with this and be careful!).
- Using your construction paper (save some for the DIY heart chain!), markers, and art supplies, decorate the box to your heart’s content! Make sure it has your kid’s name on it.
- Time for the heart chain! Accordian fold your construction paper, then trace a heart on one side of the fold. You can trace a half heart against one of the edges of the fold OR a full heart. If doing the full heart, make sure each side of the heart bleeds off the page (this is where the heart chain will connect). Watch the video for visual instructions.
- Now, cut along the lines you just drew so you cut through each layer of the folded paper. Make sure not to cut the folds themselves, where the heart will connect
- Unfold your heart to reveal your heart chain! Now you can glue or tape it to your box as an extra-cool decoration.
Once your box is looking festive and snazzy, it’s ready to receive some Valentine grams! If you’re looking for a sugar-free Valentine’s treat for your kid’s classroom party, try Valentine's Day Playfoam & Sticker 20-Pack! Each pod contains sensory-stimulating Playfoam in festive shapes and colors and come with “To” and “From” stickers for easy classroom gifting.
READ MORE