Shop UK Site
Make Your Own Clock
[caption id="attachment_6416" align="alignnone" width="1024"] Photo credit: allsmallcrafts.com[/caption]If you’re like us, you’ve been busy trying to keep a schedule for learning at home, so we thought it would be helpful to show you how to create your very own clock. This is a useful tool to show children what time their next activity will begin, help teach how to tell time, and help understand concept of elapsed time. Attach your clock to your daily learning schedule to keep you all on track!Ages: 4+Supplies:• 2 pieces of construction paper (2 different colors)• Scissors• 1 Brad• Marker or crayonProcedure:1. Trace a circle onto a piece of construction paper to create the clock face. You can do this freehand or trace a large coffee can, tea kettle, or pot.
 2. Cut out the circle – this will be your clock’s face.3. Using the second piece of construction paper, trace and cut out arrow shapes for the clock hands. Be sure to make a smaller hand for the hour hand and a larger hand for the minute hand.
 4. Place the hour hand on top of the minute hand and push the brad through both arrows. Then push it through the clock face and open the brad arms on the back.
 5. Have your child write the numbers on the clock face with a marker or crayon.
Photo credit: allsmallcrafts.com[/caption]If you’re like us, you’ve been busy trying to keep a schedule for learning at home, so we thought it would be helpful to show you how to create your very own clock. This is a useful tool to show children what time their next activity will begin, help teach how to tell time, and help understand concept of elapsed time. Attach your clock to your daily learning schedule to keep you all on track!Ages: 4+Supplies:• 2 pieces of construction paper (2 different colors)• Scissors• 1 Brad• Marker or crayonProcedure:1. Trace a circle onto a piece of construction paper to create the clock face. You can do this freehand or trace a large coffee can, tea kettle, or pot. 2. Cut out the circle – this will be your clock’s face.3. Using the second piece of construction paper, trace and cut out arrow shapes for the clock hands. Be sure to make a smaller hand for the hour hand and a larger hand for the minute hand.
 4. Place the hour hand on top of the minute hand and push the brad through both arrows. Then push it through the clock face and open the brad arms on the back.
 5. Have your child write the numbers on the clock face with a marker or crayon.
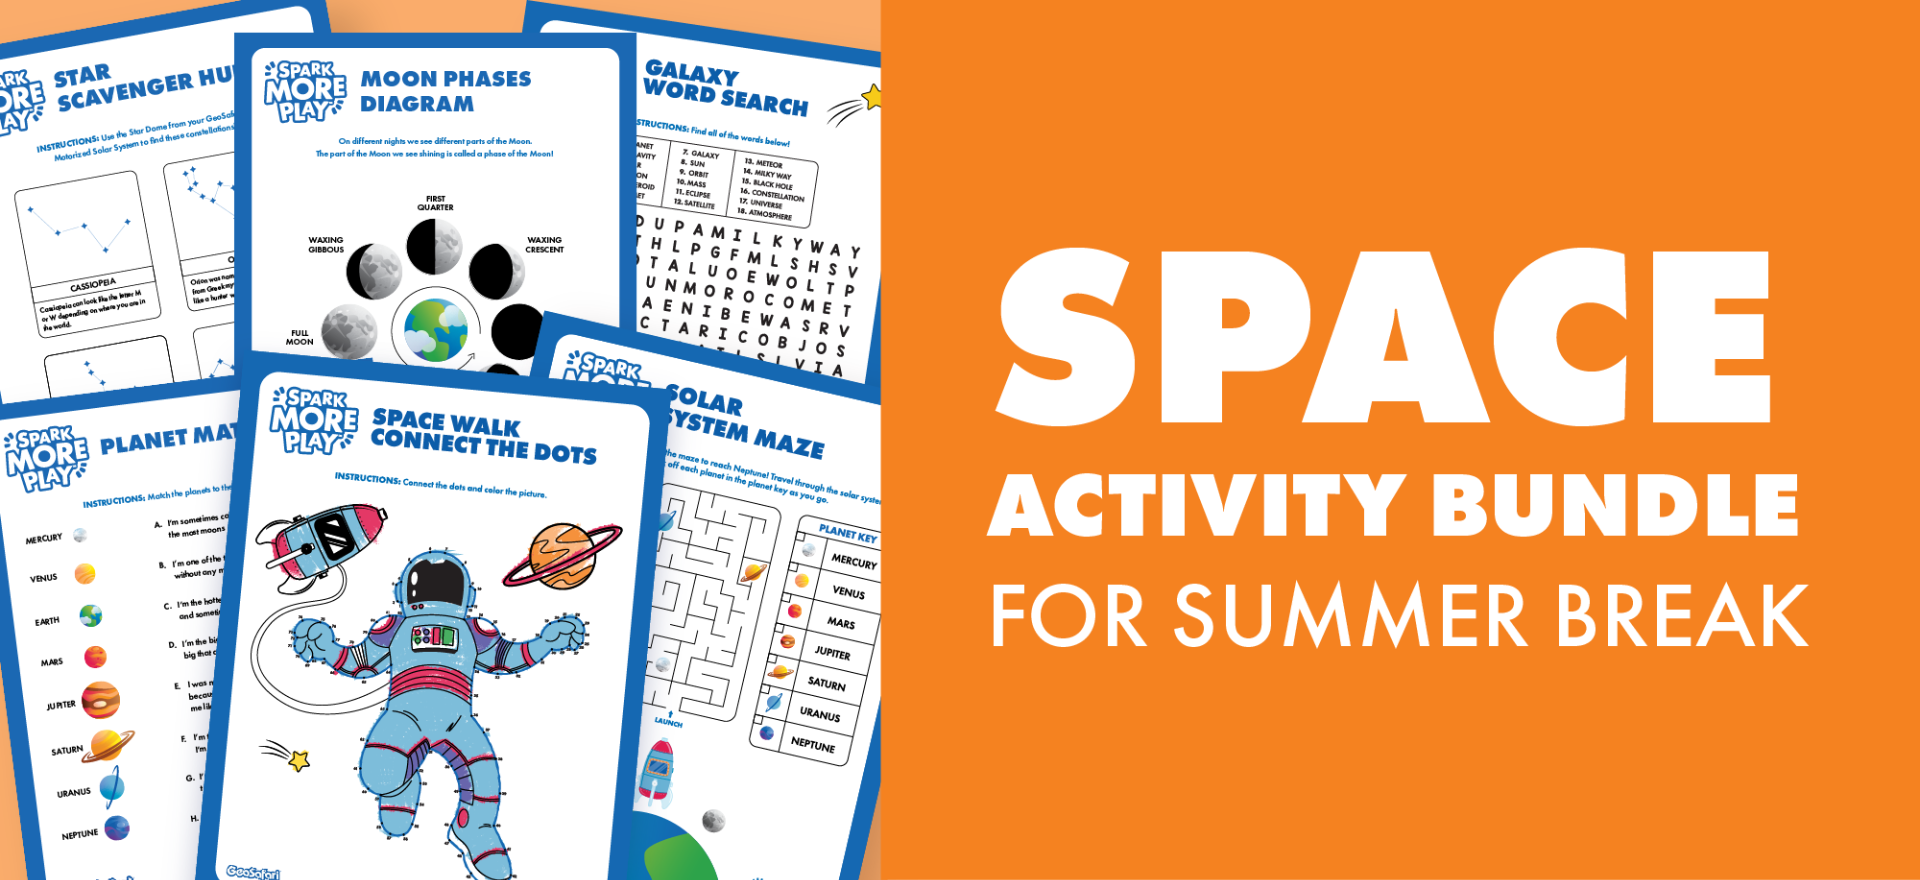
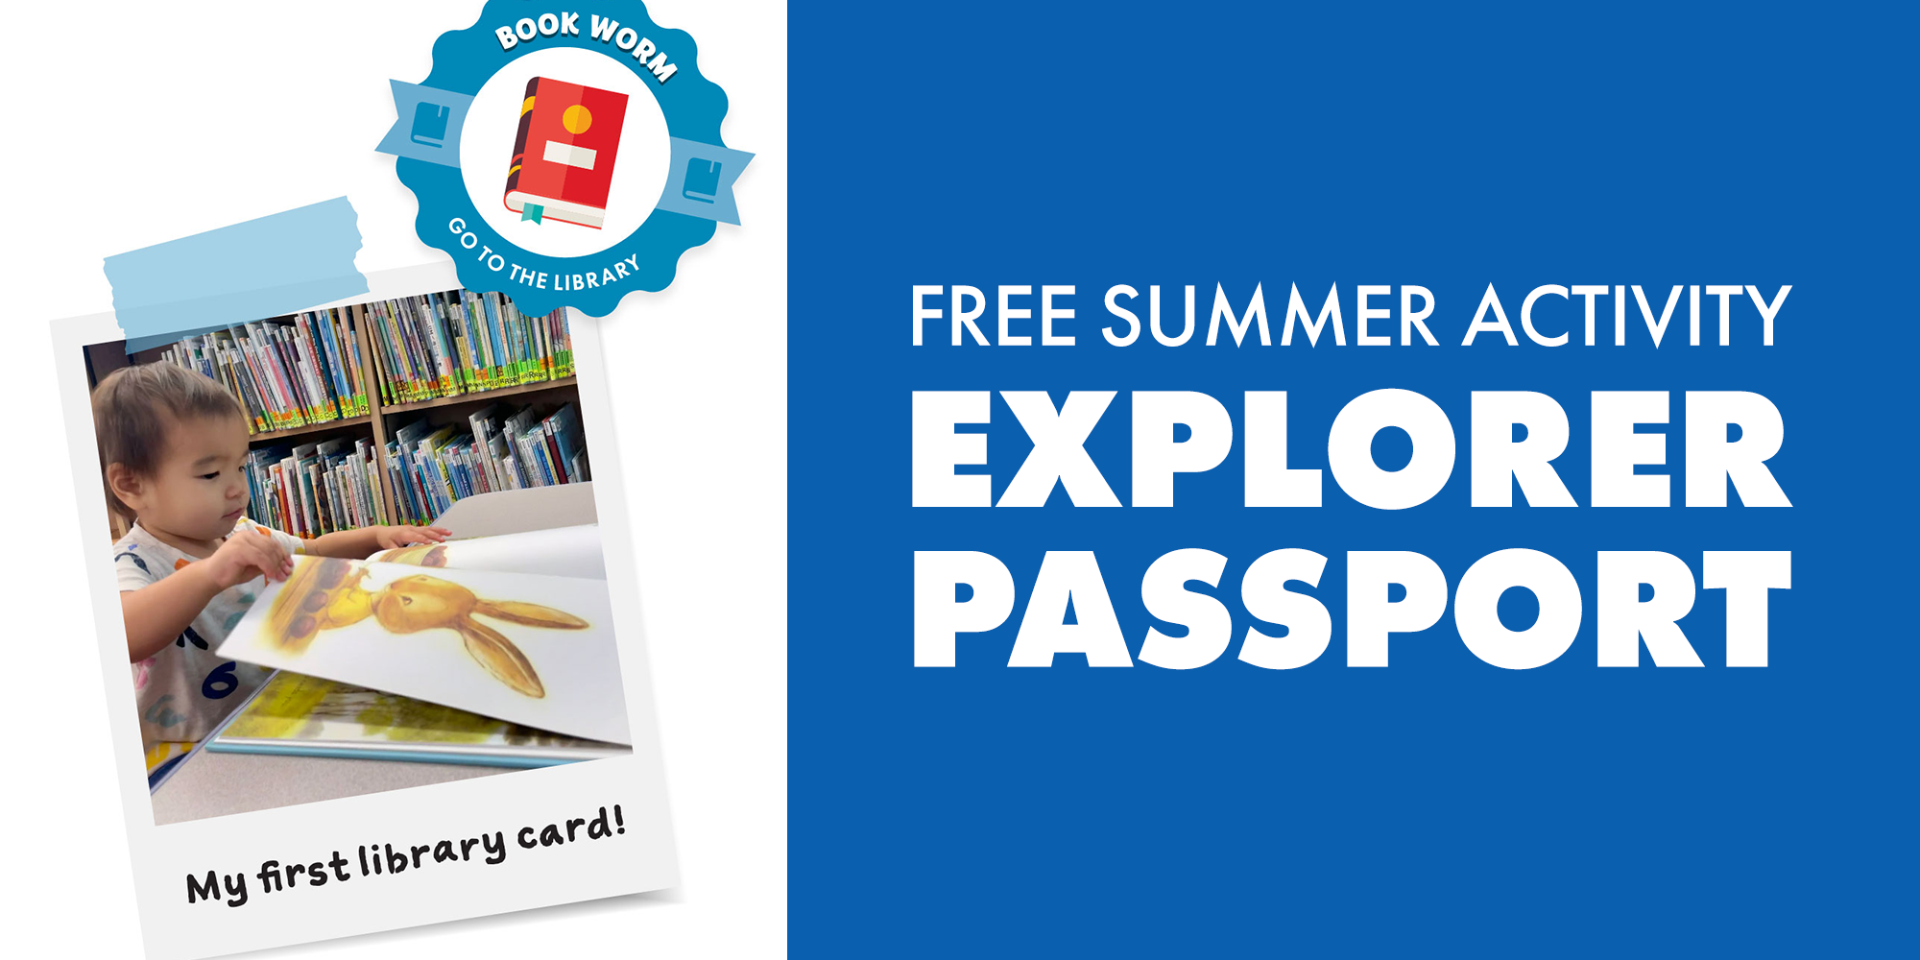
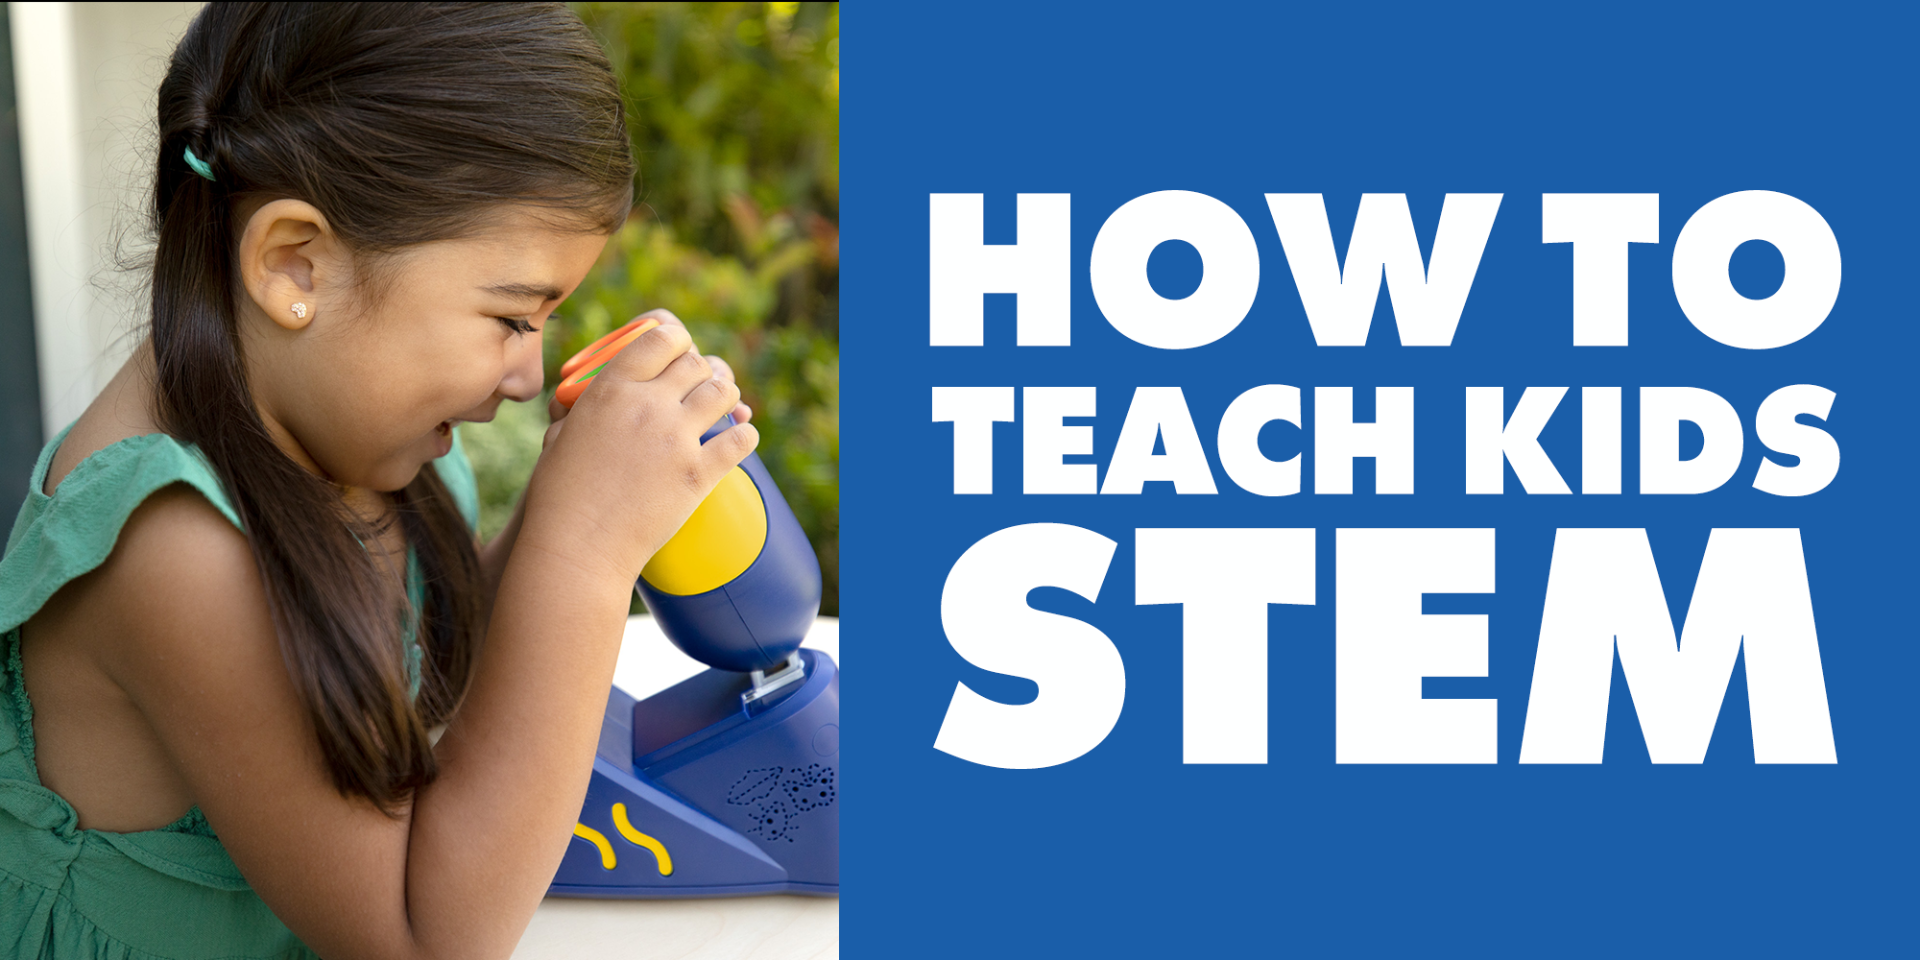
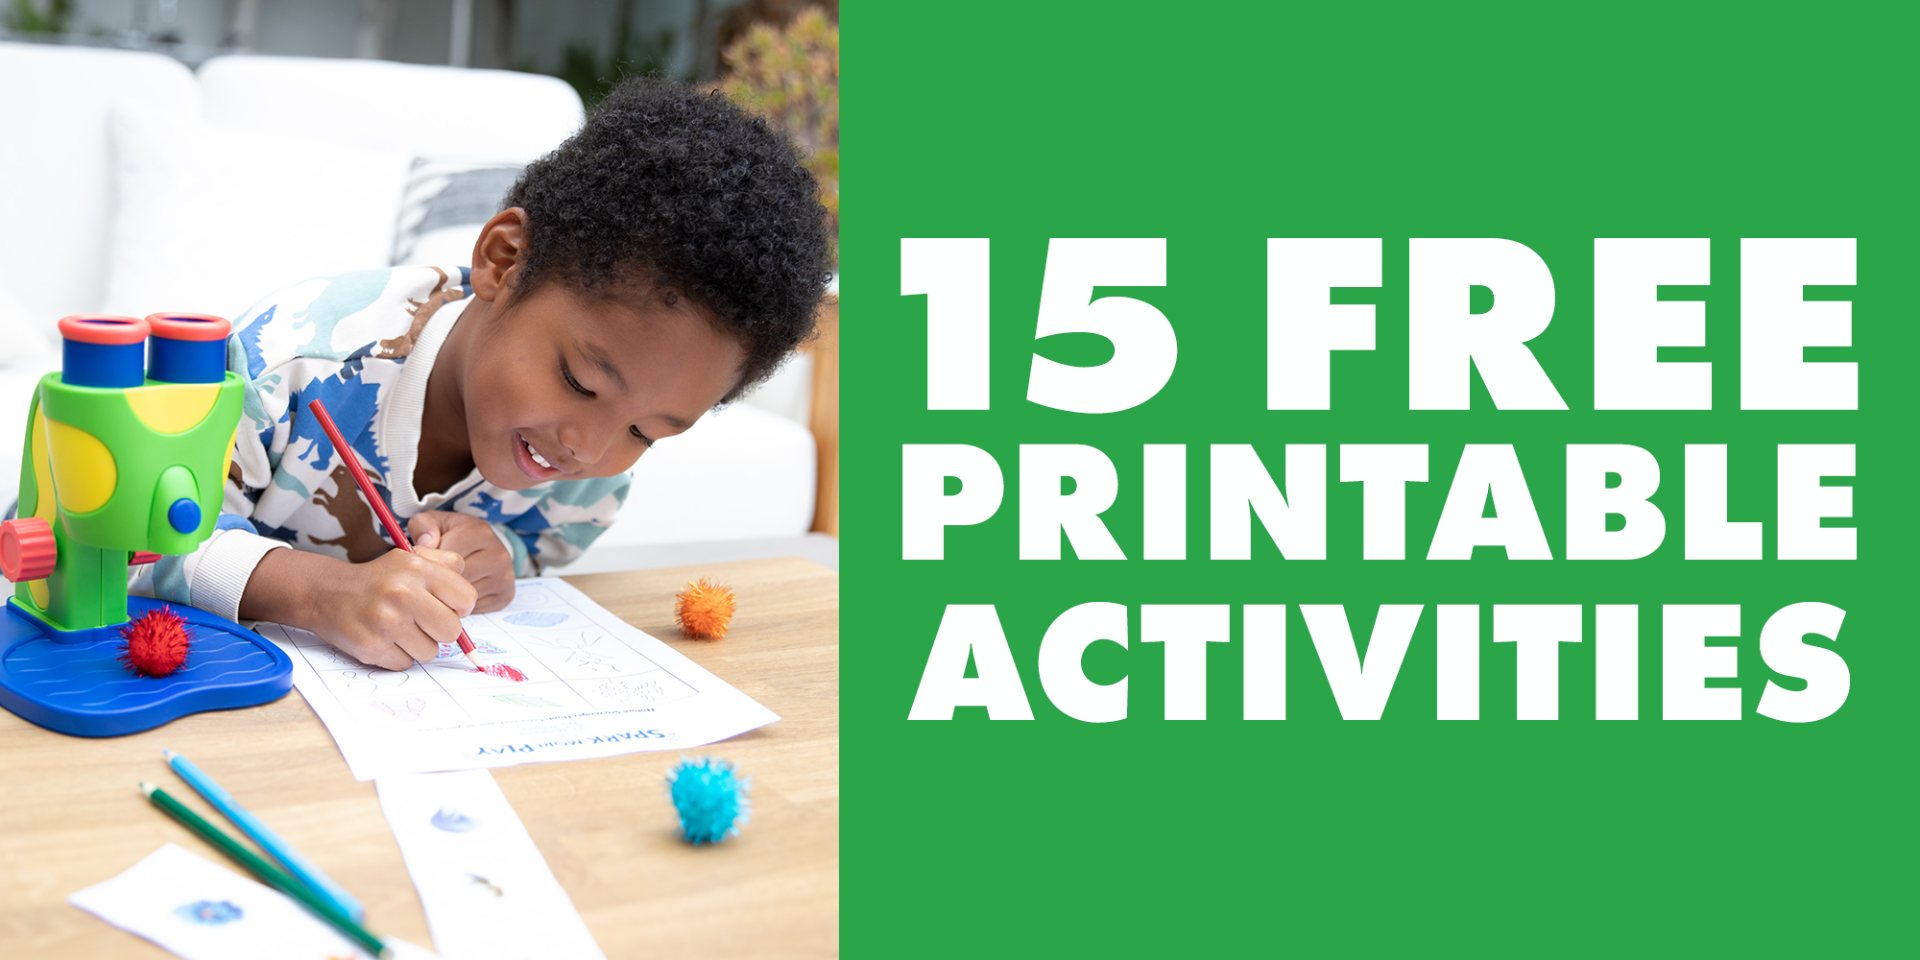
Related Posts You Might Enjoy

Posted on Jun 8, 2020
Home's Cool Art Activity: Make Your Own Suncatcher https://www.youtube.com/watch?v=JMEC2e8_Km0&feature=emb_logo Home's Cool! While we're all working from home, the parents, former teachers, and play experts at EI are sharing some of their favorite educational activities to help keep your family learning and growing. Check out this idea from Stacie Palka, one of our Product Managers!Ages: 4+Supplies:• Waxed paper• Colored Tissue paper• Construction paper• Scissors• Iron (for adult use)• Yarn (to hang your suncatcher)• Hole punch• Glue stickProcedure:1. Use your scissors to cut brightly colored tissue paper into small shapes like hearts, circles, and stars.2. Cut 2 sheets of wax paper to the desired size of your suncatcher.3. Let your child arrange the tissue paper pieces on one piece of the wax paper, leaving a bit of space between each piece.4. When they’re done, place the second piece of wax paper on top.*Adult assistance needed with the below steps.5. Turn the iron to a low setting.6. Place a dishtowel carefully over the wax paper (to protect the iron).7. Slowly run the iron over the dishtowel (placed over the suncatcher).8. After about 2 minutes, lift the dishtowel to see if the wax paper layers have adhered together. If not, continue ironing and checking until the two pieces are stuck together.9. If there is any excess wax paper, trim it off, leaving a little bit of space around the edge.10. Show your child how to cut your sheet of construction paper into four equal strips to make a frame around your suncatcher.11. Let your little one glue the paper frame around the edges of the suncatcher.12. Punch a hole in the top of the frame.13. Use yarn or string to tie a loop and hang your suncatcher in a bright, sunny window! With first-hand experience teaching Kindergarten and first grade and 13 years of product development know-how, EI Product Manager Stacie Palka is uniquely qualified to develop products that spark curiosity and a-ha moments. When she's not coming up with cool (and smart!) new ways to play, So Cal native and board game buff Stacie is caring for her two kids and adorable doggo, Frankie.
READ MORE
Home's Cool Art Activity: Make Your Own Suncatcher https://www.youtube.com/watch?v=JMEC2e8_Km0&feature=emb_logo Home's Cool! While we're all working from home, the parents, former teachers, and play experts at EI are sharing some of their favorite educational activities to help keep your family learning and growing. Check out this idea from Stacie Palka, one of our Product Managers!Ages: 4+Supplies:• Waxed paper• Colored Tissue paper• Construction paper• Scissors• Iron (for adult use)• Yarn (to hang your suncatcher)• Hole punch• Glue stickProcedure:1. Use your scissors to cut brightly colored tissue paper into small shapes like hearts, circles, and stars.2. Cut 2 sheets of wax paper to the desired size of your suncatcher.3. Let your child arrange the tissue paper pieces on one piece of the wax paper, leaving a bit of space between each piece.4. When they’re done, place the second piece of wax paper on top.*Adult assistance needed with the below steps.5. Turn the iron to a low setting.6. Place a dishtowel carefully over the wax paper (to protect the iron).7. Slowly run the iron over the dishtowel (placed over the suncatcher).8. After about 2 minutes, lift the dishtowel to see if the wax paper layers have adhered together. If not, continue ironing and checking until the two pieces are stuck together.9. If there is any excess wax paper, trim it off, leaving a little bit of space around the edge.10. Show your child how to cut your sheet of construction paper into four equal strips to make a frame around your suncatcher.11. Let your little one glue the paper frame around the edges of the suncatcher.12. Punch a hole in the top of the frame.13. Use yarn or string to tie a loop and hang your suncatcher in a bright, sunny window!
 With first-hand experience teaching Kindergarten and first grade and 13 years of product development know-how, EI Product Manager Stacie Palka is uniquely qualified to develop products that spark curiosity and a-ha moments. When she's not coming up with cool (and smart!) new ways to play, So Cal native and board game buff Stacie is caring for her two kids and adorable doggo, Frankie.
 READ MORE

Posted on May 22, 2020
Home's Cool Learning Activity: Make a Balancing Ball Maze https://www.youtube.com/watch?v=iMnfNl3MbnY&feature=emb_logo Home's Cool! While we're all working from home, the parents, former teachers, and play experts at EI are sharing some of their favorite educational activities to help keep your family learning and growing. Check out this idea from Michael Sheridan, one of our EI Product Managers!Ages: 4-8Grades: pre-K to 2Supplies: • Cardboard box• Ping pong ball or marble (smaller is more difficult)• Construction paper• Marker• ScissorsProcedure:1. Cut the sides off of a cardboard box. Use a box that is at least 12” x 12” if possible. 2. Cut the side pieces into ten strips, each about 2” wide.
 3. Tape or glue construction paper to the bottom of the box to make a flat surface.
 4. Write the numbers 1-10 (one number per strip) on the center of the cardboard strips.5. Fold the cardboard strips into a U shape and tape or hot glue the ends to the construction paper all around the inside of the box. Place them at random, number-wise and orientation-wise. Make sure your ball fits through each U shape before attaching it to the bottom of the box.
 6. Hold the box flat on your lap (or over a table). Start with the ball in the center of the box and tilt it all around to get the ball to pass through each number. The goal is to tilt the ball through the numbers in order from 1-10 as fast as possible.7. Start a tournament with a sibling or parent to see who can get through the entire course fastest.
  EI Product Manager Michael Sheridan is a jack of all trades! An avid surfer and former international soccer competitor, this outdoor and sporting enthusiast also has a degree in Astrophysics from UCLA and eight years of product development experience in a variety of industries. Prior to helping build EI's science products and brain game lines, Michael developed everything from folding chairs to electric scooters and skateboards!
READ MORE
Home's Cool Learning Activity: Make a Balancing Ball Maze https://www.youtube.com/watch?v=iMnfNl3MbnY&feature=emb_logo Home's Cool! While we're all working from home, the parents, former teachers, and play experts at EI are sharing some of their favorite educational activities to help keep your family learning and growing. Check out this idea from Michael Sheridan, one of our EI Product Managers!Ages: 4-8Grades: pre-K to 2Supplies: • Cardboard box• Ping pong ball or marble (smaller is more difficult)• Construction paper• Marker• ScissorsProcedure:1. Cut the sides off of a cardboard box. Use a box that is at least 12” x 12” if possible.
 2. Cut the side pieces into ten strips, each about 2” wide.
 3. Tape or glue construction paper to the bottom of the box to make a flat surface.
 4. Write the numbers 1-10 (one number per strip) on the center of the cardboard strips.5. Fold the cardboard strips into a U shape and tape or hot glue the ends to the construction paper all around the inside of the box. Place them at random, number-wise and orientation-wise. Make sure your ball fits through each U shape before attaching it to the bottom of the box.
 6. Hold the box flat on your lap (or over a table). Start with the ball in the center of the box and tilt it all around to get the ball to pass through each number. The goal is to tilt the ball through the numbers in order from 1-10 as fast as possible.7. Start a tournament with a sibling or parent to see who can get through the entire course fastest.
  EI Product Manager Michael Sheridan is a jack of all trades! An avid surfer and former international soccer competitor, this outdoor and sporting enthusiast also has a degree in Astrophysics from UCLA and eight years of product development experience in a variety of industries. Prior to helping build EI's science products and brain game lines, Michael developed everything from folding chairs to electric scooters and skateboards!
 READ MORE

Posted on May 17, 2020
Home's Cool Learning Activity: Lacing Bolts https://www.youtube.com/watch?v=e7Lf8iS39eI&feature=emb_logo Home's Cool! While we're all working from home, the parents, former teachers, and play experts at EI are sharing some of their favorite educational activities to help keep your family learning and growing. Check out this idea from Sahad Rivera Sonda, one of our Product Managers!Ages: 3-5Supplies:• Paper• Markers• Pipe cleaners in various colors• Tape• Design & Drill bolts in various colors Procedure:1. Tape a piece of paper to the table.2. Tape the top end of 5 different colored pipe cleaners to the paper.3. Use a marker to write the numbers 1 through 5 next to the pipe cleaners.4. Ask your kid to match the color of the bolts with the pipe cleaner and to lace the number of bolts written on the paper.
 Sahad Rivera Sonda has dreamed of being a toy designer since she was a child in Mexico! Her passion for miniatures and other playful oddities (her collection includes everything from a plush churro to a miniature French fry) eventually led her to Otis College of Art and Design in California, where she obtained a degree in Toy Design. Sahad’s dreams came true when she landed a job with EI, designing the look and feel for many of our toys and games, including Playfoam Pals, Design & Drill and our plush line.
READ MORE
Home's Cool Learning Activity: Lacing Bolts https://www.youtube.com/watch?v=e7Lf8iS39eI&feature=emb_logo Home's Cool! While we're all working from home, the parents, former teachers, and play experts at EI are sharing some of their favorite educational activities to help keep your family learning and growing. Check out this idea from Sahad Rivera Sonda, one of our Product Managers!Ages: 3-5Supplies:• Paper• Markers• Pipe cleaners in various colors• Tape• Design & Drill bolts in various colors
 Procedure:1. Tape a piece of paper to the table.2. Tape the top end of 5 different colored pipe cleaners to the paper.3. Use a marker to write the numbers 1 through 5 next to the pipe cleaners.4. Ask your kid to match the color of the bolts with the pipe cleaner and to lace the number of bolts written on the paper.
 Sahad Rivera Sonda has dreamed of being a toy designer since she was a child in Mexico! Her passion for miniatures and other playful oddities (her collection includes everything from a plush churro to a miniature French fry) eventually led her to Otis College of Art and Design in California, where she obtained a degree in Toy Design. Sahad’s dreams came true when she landed a job with EI, designing the look and feel for many of our toys and games, including Playfoam Pals, Design & Drill and our plush line.
 READ MORE